Installing a Compiler for QtCreator
By: Brad
In my previous post we installed Qt and Qt Creator; in this post I’m going to show you how to install a C++ compiler for Qt Creater to use.
Qt Creator is the native IDE for Qt; however, it does not include a compiler. This is because Qt Creator is a cross-platform IDE therefore it needs to support a variety of compilers for different platforms. If you already have a C++ compiler installed you should be able to skip ahead to Creating your first Qt Quick project otherwise please read on.
Assuming that at this point you don’t have a C++ compiler installed then if you go to the Build menu in Qt Creator notice that all the options are disabled and if you navigate to the Tools -> Options… menu which will bring up the Options dialog and in the left hand menu strip select Build & Run and on this screen select the Compilers tab. Noticed that none exist.
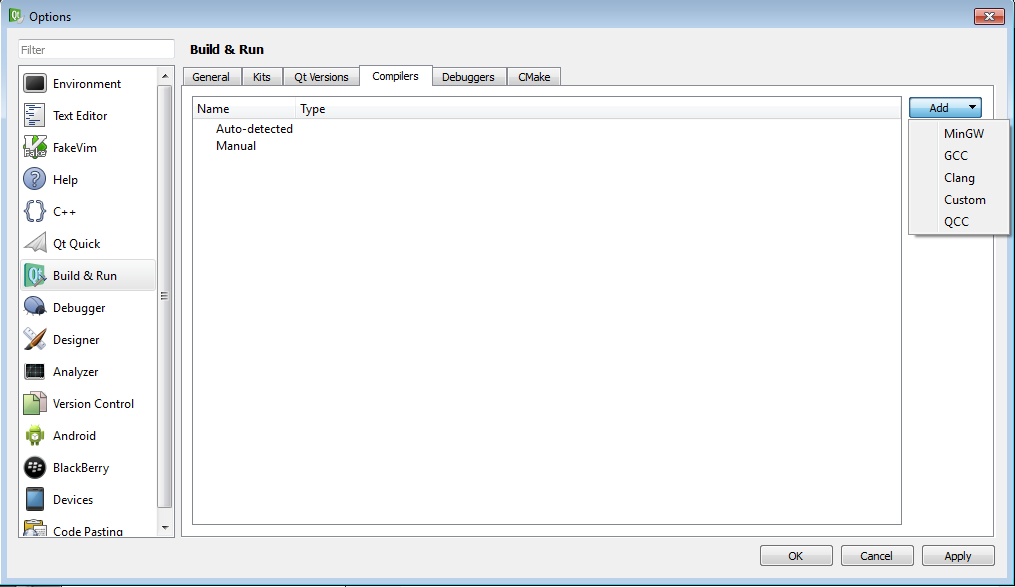
Therefore the next step is to install a C++ compiler and configure Qt Creator to use it.
Installing Visual Studio and Configuring Qt Creator to use it
We can use Visual Studio 2012’s C++ compiler Microsoft Visual C++ Compiler in Qt Creator (at the time of writing Qt does not support Microsoft Visual Studio 2013).
Installing Visual Studio is pretty straight forward; insert the installation disc and follow the wizard.
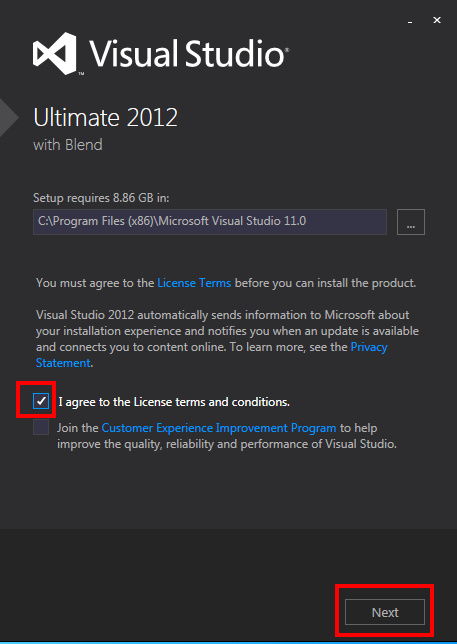
The first thing you need to do when going through the Visual Studio 2012 installation wizard is to read and accept the license terms and privacy policy. Once you tick the agreement check box the Next button will be reviled; click the Next button to continue.
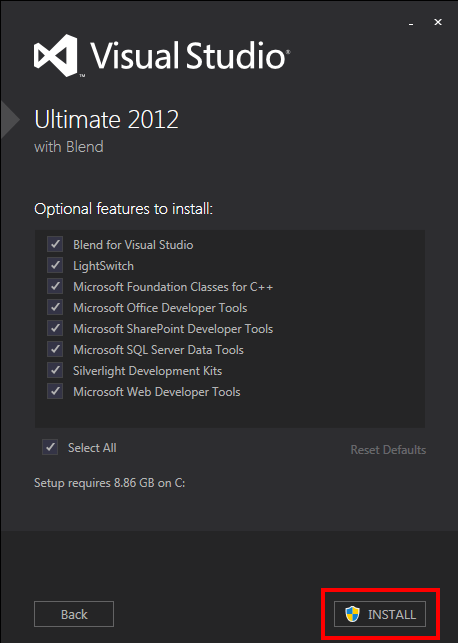
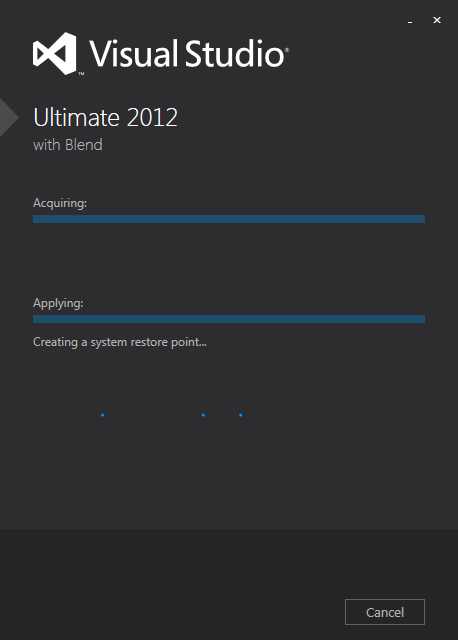
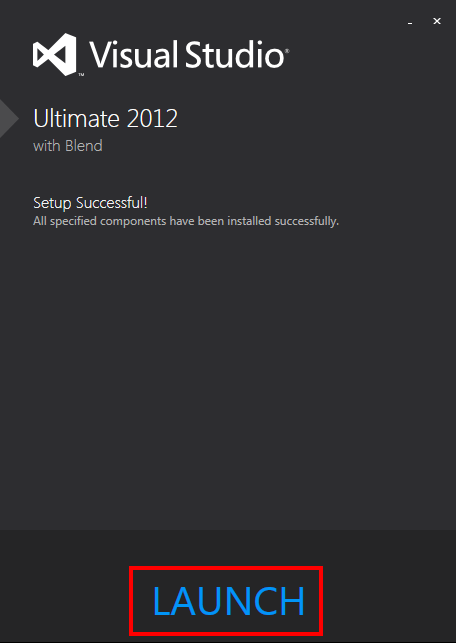
Now you’ll see a screen that lets you select/de-select optional features. I just leave them all enabled since I have plenty of drive space. Click Install to begin the Visual Studio 2012 installation. When it completes you’ll see the last screen where you can launch Visual Studio via the helpfully named Launch button.
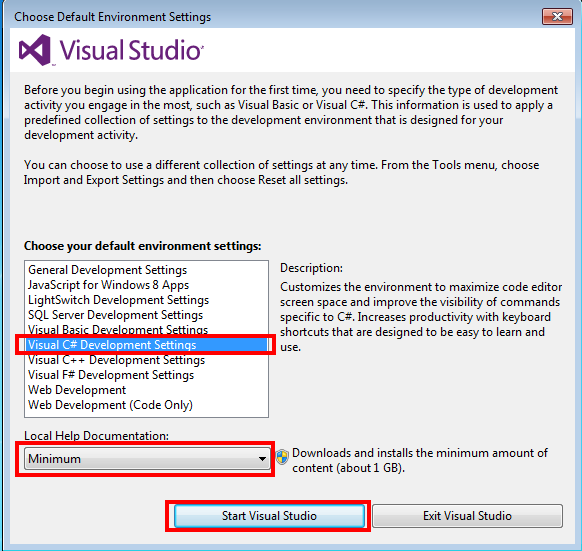
Welcome to Visual Studio 2012. The first time you start Visual Studio 2012 you will be asked to pick a default environment setup; me being accustom to writing .NET applications I picked Visual C# Development Settings. You can also pick if you want to install some, all or none of the help documentation that comes with Visual Studio. Me personally I tend to use the online MSDN articles or our good friend Google so its up to you if you want to take up drive space or not. Once you’ve made your selections click Start Visual Studio.
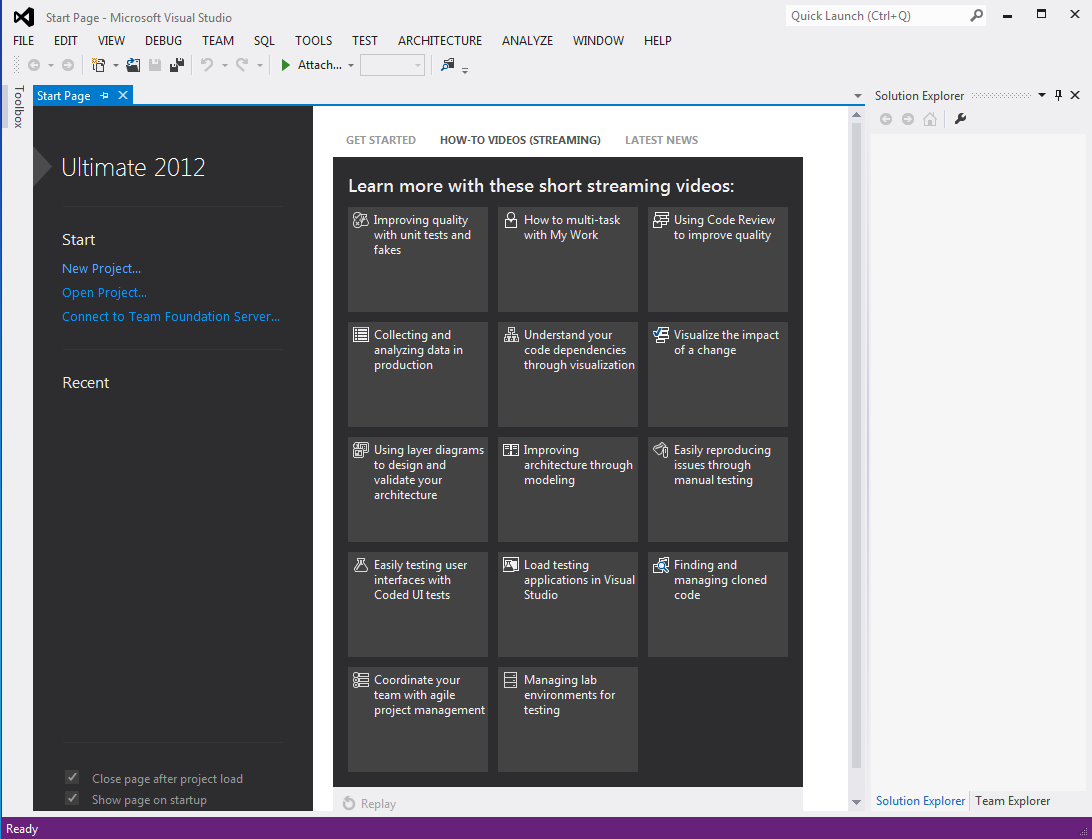
And tada your all done; you should be looking at Visual Studio 2012.
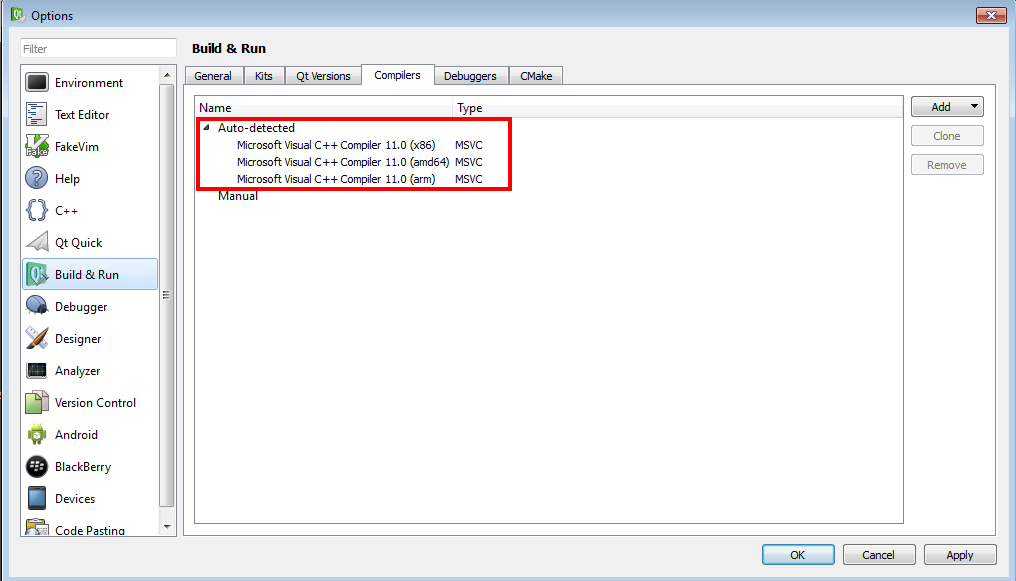
But since this isn’t a walk-through on Visual Studio lets get back to Qt Creator. Navigate to the Tools -> Options… menu which will bring up the Options dialog. In the left hand menu strip select Build & Run and on this screen select the Compilers tab. Noticed that our clever little IDE has auto detected the Microsoft Visual C++ Compilers.
Now that you have a C++ compiler installed for QtCreator lets creating your first Qt Quick project. If you have any questions or comments feel free to leave them below and I’ll respond when time permits.
Until next time think imaginatively and design creatively