Installing Microsoft Visual Studio 2012
By: Brad
This walk-through will guide you through installing Microsoft Visual Studio 2012.
Installing Visual Studio is pretty straight forward; insert the installation disc and follow the wizard.
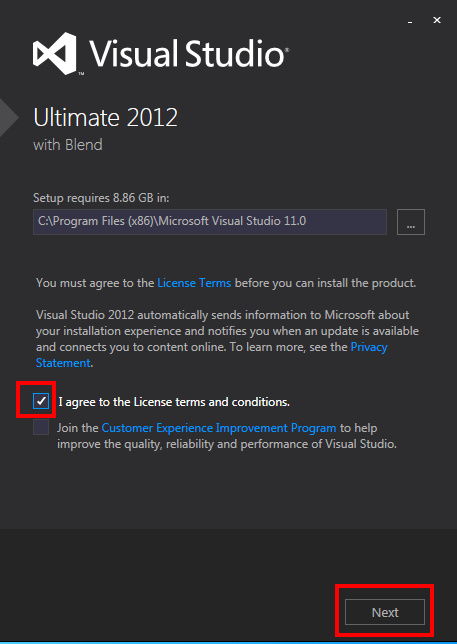
The first thing you need to do when going through the Visual Studio 2012 installation wizard is to read and accept the license terms and privacy policy. Once you tick the agreement check box the Next button will be reviled; click the Next button to continue.
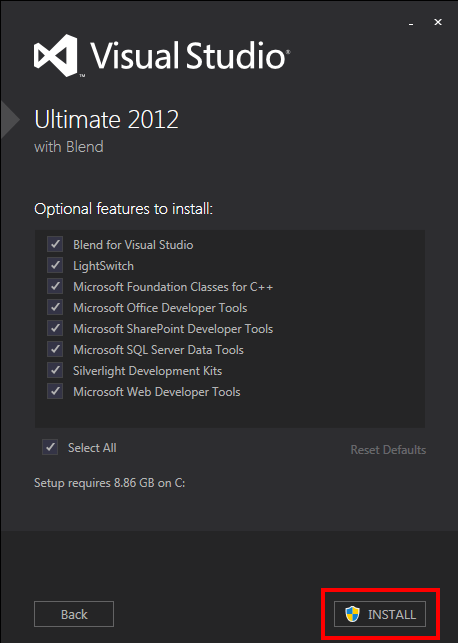
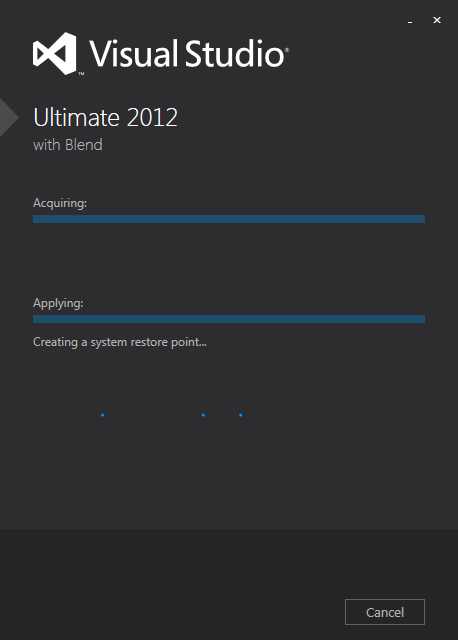
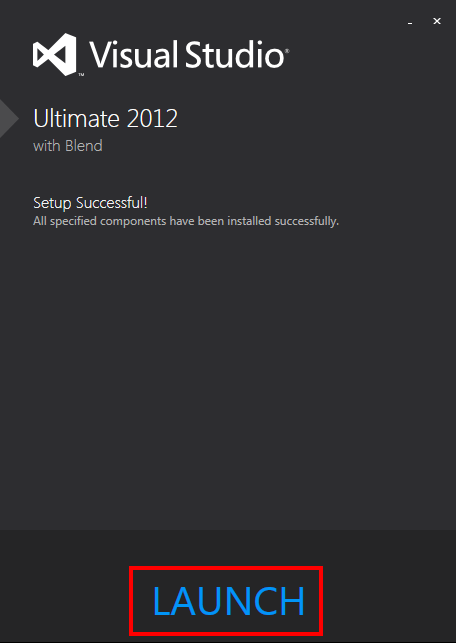
Now you’ll see a screen that lets you select/de-select optional features. I just leave them all enabled since I have plenty of drive space. Click Install to begin the Visual Studio 2012 installation. When it completes you’ll see the last screen where you can launch Visual Studio via the helpfully named Launch button.
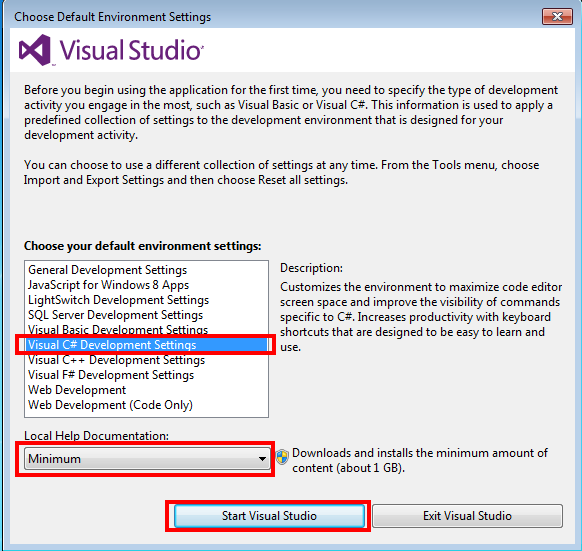
Welcome to Visual Studio 2012. The first time you start Visual Studio 2012 you will be asked to pick a default environment setup; me being accustom to writing .NET applications I picked Visual C# Development Settings. You can also pick if you want to install some, all or none of the help documentation that comes with Visual Studio. Me personally I tend to use the online MSDN articles or our good friend Google so its up to you if you want to take up drive space or not. Once you’ve made your selections click Start Visual Studio.
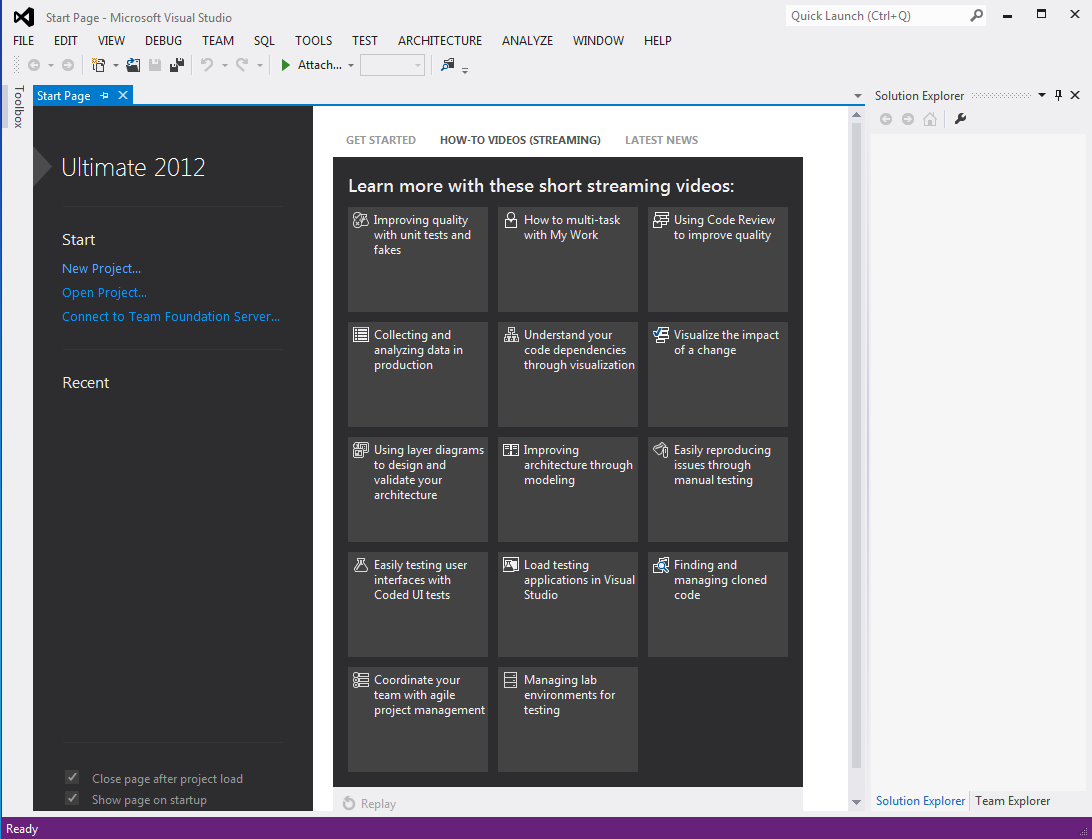
And tada your all done; you should be looking at Visual Studio 2012.
If you have any questions or comments feel free to leave them below and I’ll respond when time permits.
Until next time think imaginatively and design creatively