Installing Microsoft Visual Studio 2013
By: Brad
This walk-through will guide you through installing Microsoft Visual Studio 2013.
So installing Visual Studio is pretty straight forward; insert the installation disc and follow the wizard. The only catch is that oops Visual Studio 2013 requires Microsoft Internet Explorer 10 and my Microsoft Windows 7 SP1 image only has IE8.
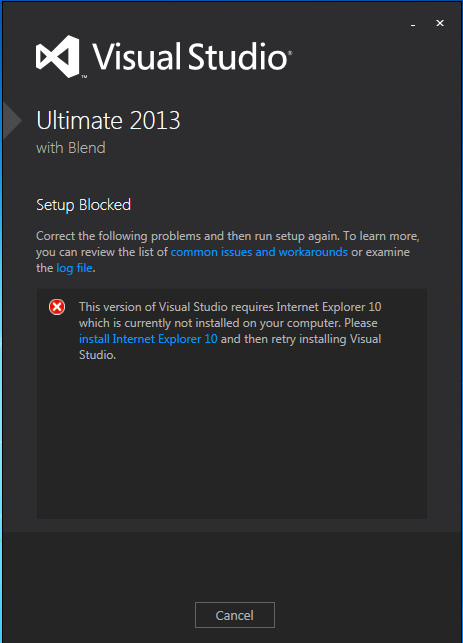
If that happens to you just click on the install Internet Explorer 10 link in the above dialog to be re-directed to a download page to get the latest and greatest IE installer (at the time of writing was Internet Explorer 11).
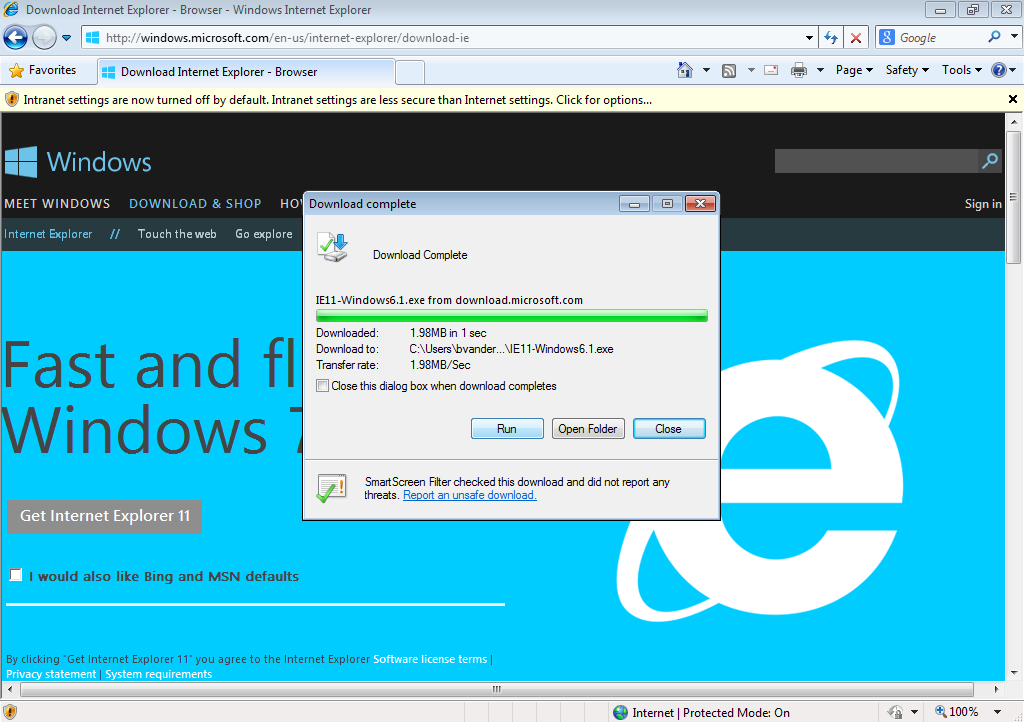
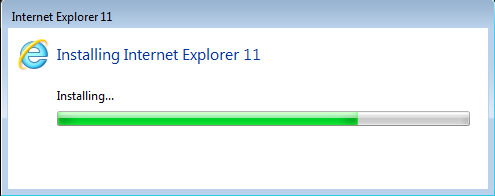
This will require a reboot of your system. When your machine comes back online re-run the Visual Studio 2013 installer, this time you should be good to go.
Read and accept the license terms and privacy policy. Once you tick the agreement check box the Next button will be reviled; click the Next button to continue.
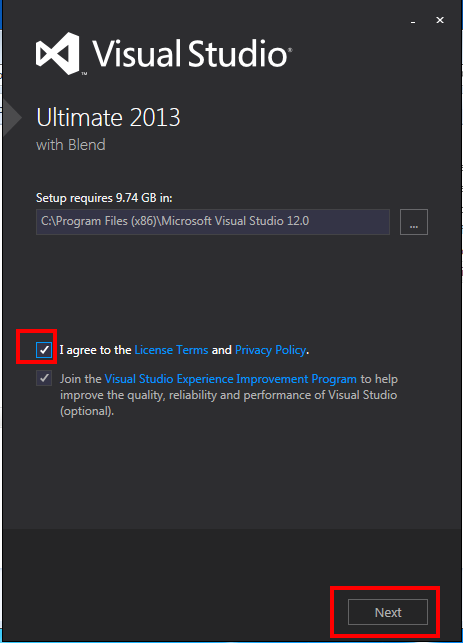
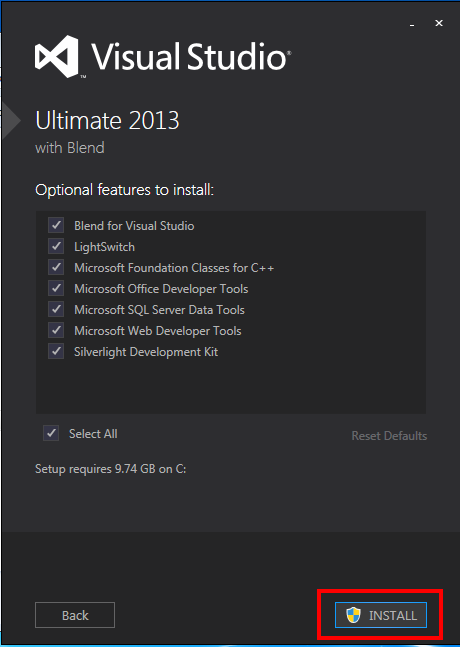
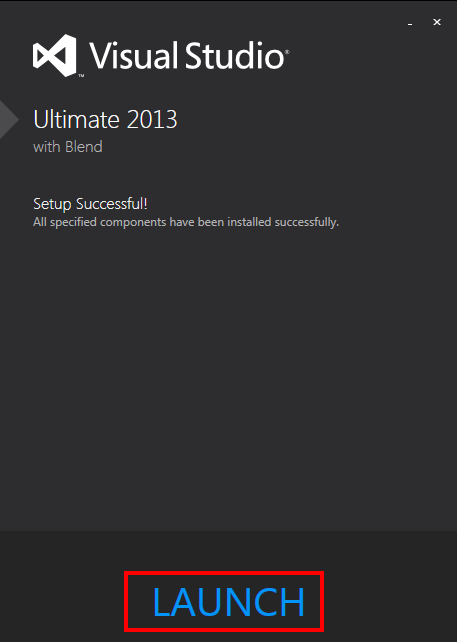
Now you’ll see a screen that lets you select/de-select optional features. I just leave them all enabled since I have plenty of drive space. Click Install to begin the Visual Studio 2013 installation. When it completes you’ll see the last screen where you can launch Visual Studio via the helpfully named Launch button.
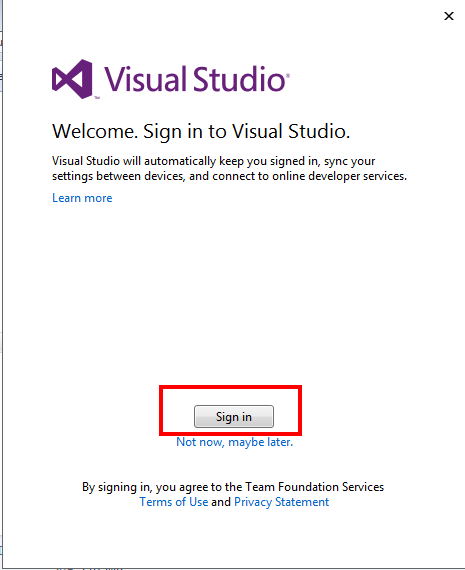
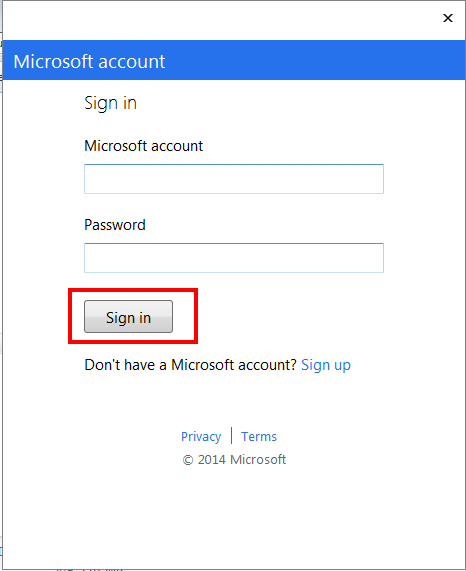
Welcome to Visual Studio 2013. In this version of Visual Studio Microsoft went with the whole online user account approach so instead of inputting a license key what you need to do now is simply log in with your Microsoft Account. If you already have a Microsoft Account click the Sign In button then on the next screen… sign in.
On the following screen you will get a chance to specify some personal preferences such as the colour scheme; I went with the Dark colour scheme vs. the Visual Studio 2010 Blue or Visual Studio 2012 Light schemes.
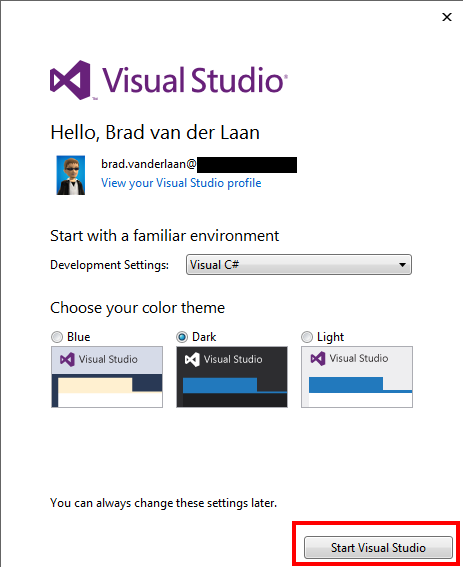
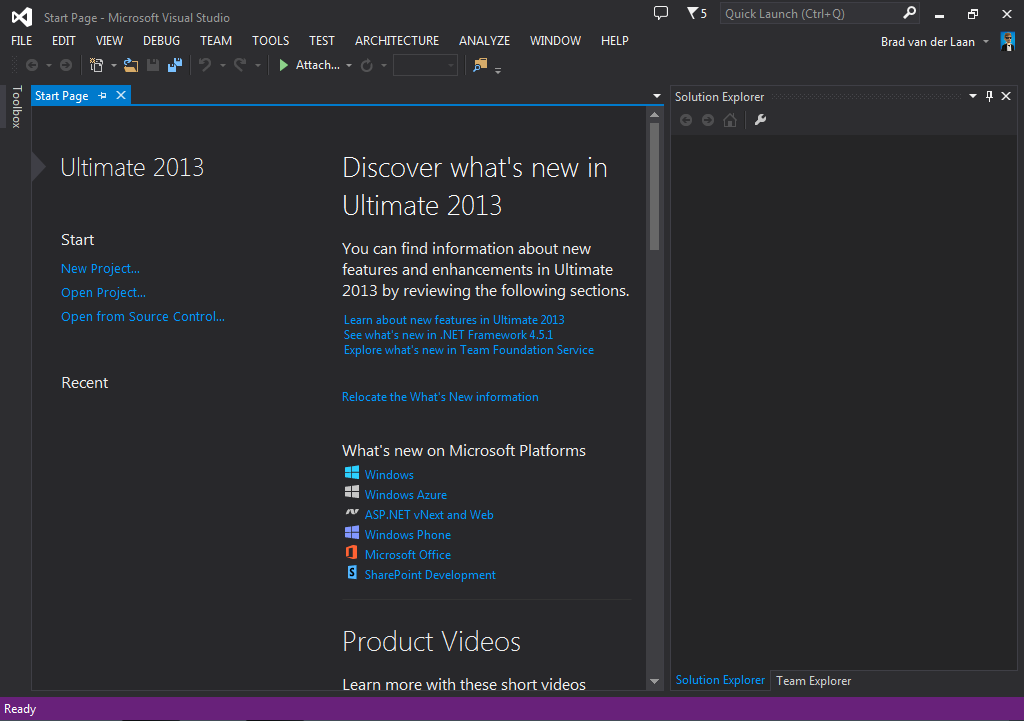
And tada your all done; you should be looking at Visual Studio 2013.
If you have any questions or comments feel free to leave them below and I’ll respond when time permits.
Until next time think imaginatively and design creatively